Rendering a Photo: From Source Image to Final Visual
Learn how to render a photo: prepare the source, generate coherent variations, check geometry and scale, and review the final image before delivery.
A client sends you a phone photo of an empty room late in the afternoon and asks for three design directions before the next call. The image is tilted, the windows are blown out, and there isn't a CAD file anywhere in sight. You still need to deliver something credible, not a synthetic room where the sofa changes size between options.
Rendering a photo works best when you treat it as a production pipeline: prepare the source, generate the main design, branch variations, correct lighting, place controlled accents, and inspect every export. The software can shorten the generation step, but it can't replace decisions about perspective, scale, fixed geometry, or disclosure.
Table of Contents
- The Working Scenario That Sets the Bar
- Preparing the Source Photo Before Any AI Runs
- The Core Moves That Actually Render a Photo
- Comparing the Tools Worth Your Credits
- Cost and Time Math You Can Run Before You Subscribe
- Failure Modes and Common Pitfalls
- Pre-Ship Checklist and Frequently Asked Questions
The Working Scenario That Sets the Bar
It's Thursday at 4:12 pm. An interior designer receives a forwarded phone photo of an empty rental living room. At 4:30 pm, the owner wants three styled options, scandi, mid-century, and coastal, before a 5 pm buyer tour. There's no studio, no 3D file, and no time to build a clean scene from scratch.
Work backward from the delivery: correct the source photograph, choose a photo-rendering or staging workflow, generate the requested directions, and inspect the exports. Use a separate editor for lighting and reference-object changes when the selected generator does not provide those controls. Include time for revisions before the client review.
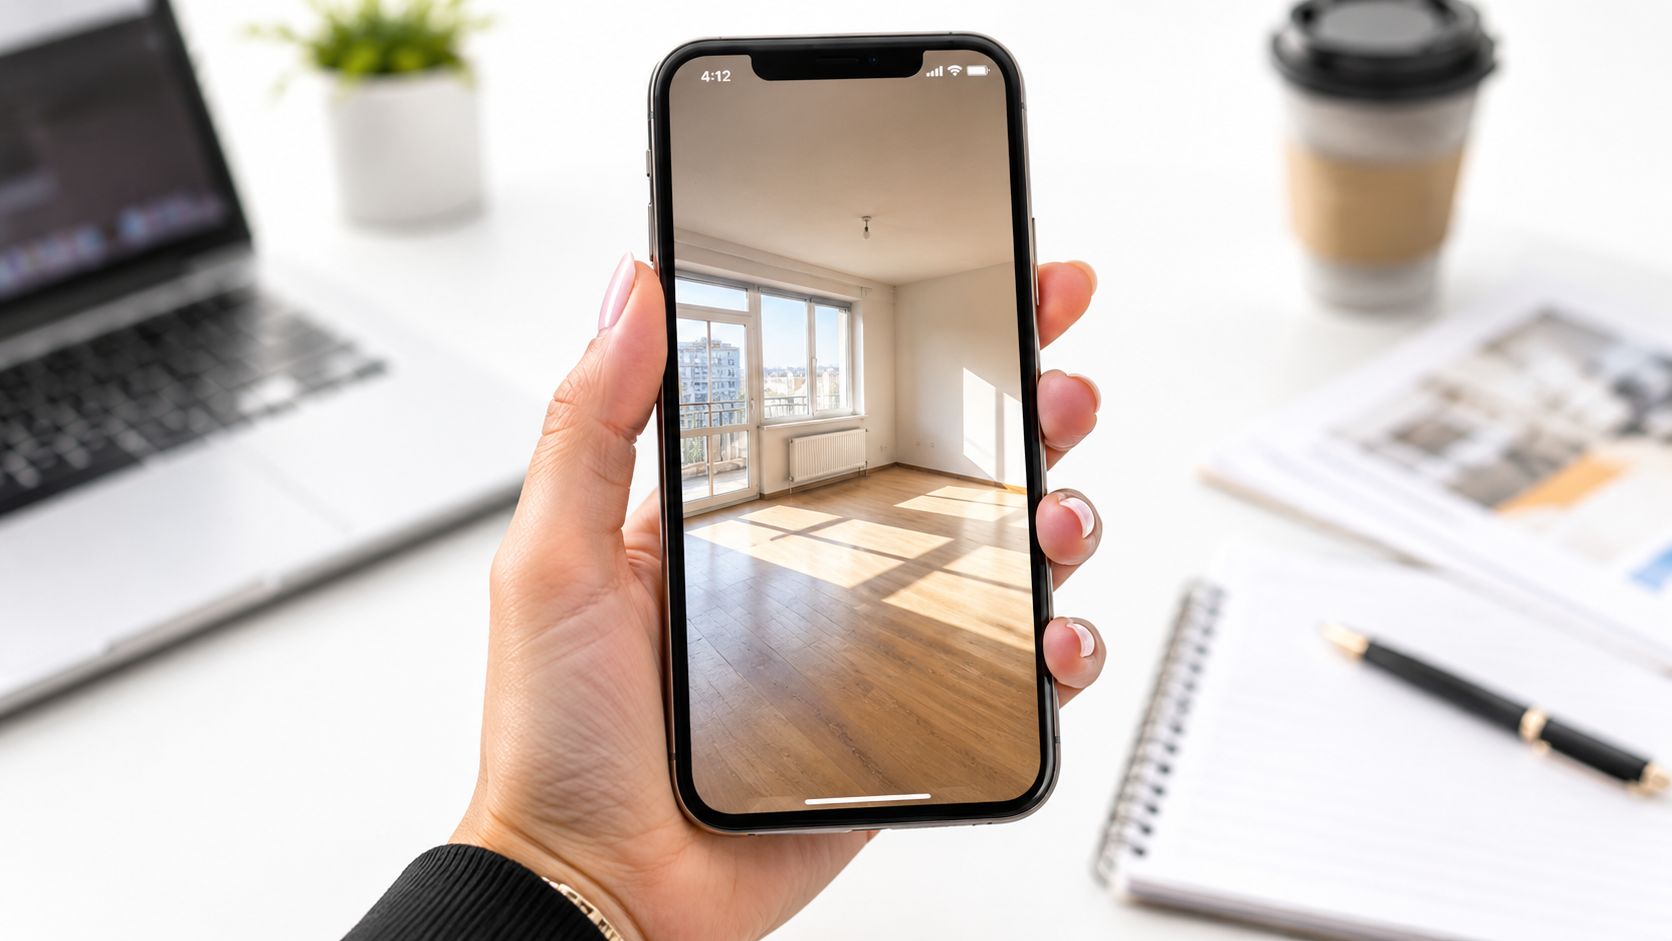
The schedule only works because the designer doesn't ask one generation to solve every problem. Each pass has a narrow job, and the production budget allows roughly one render per minute across the working session, not unlimited experimentation. A fast render that still needs extensive repair isn't fast in production terms.
Practical rule: Speed belongs in the generation stage. Judgment belongs before and after it.
This is also why a photo-rendering workflow differs from a single-click experiment. A client-ready image needs the original room's openings, sightlines, and proportions to remain believable. A useful overview of AI rendering for architects makes the same broader distinction between rapid visual exploration and professional project output.
The final QA pass catches the errors that are easy to miss in a thumbnail. Cushions may fuse together, a table may lose a leg, or an outlet may disappear behind a redesigned wall. The image can look impressive at first glance and still fail when a buyer studies the room.
Preparing the Source Photo Before Any AI Runs
Source preparation is the cheapest part of rendering a photo, and it's where many avoidable errors begin. Use the highest-resolution original available. An image around 4032 by 3024 pixels or better gives the system more focal detail to interpret, while upscaling a soft phone image only enlarges missing information.
Start with the camera geometry. Correct leaning verticals against a known wall, crop to the room's main sightline, and avoid an extreme wide-angle view if another source photo exists. The more distorted the perspective, the more aggressively a generation system has to guess where walls, ceilings, and floor lines meet.
Read the existing light
Look at cast shadows before asking for a new style. A window on the left should not produce a hard shadow that points toward the same window. Note whether the room is daylight-balanced, tungsten-warm, or mixed. This gives the later relighting pass a physical starting point instead of asking it to invent a light direction.
Prepare a clean PNG with an embedded sRGB profile and no sharpening. Sharpening halos around window frames and furniture edges can be mistaken for geometry, producing ragged masks or artificial outlines.
Lock anything that must stay put
Mask the elements that cannot move:
- Built-ins: Keep shelving, cabinetry, fireplaces, and millwork fixed.
- Openings: Protect windows, doors, window mullions, and visible reveals.
- Fixtures: Mask ceiling fans, switch plates, outlets, and fixed light fixtures.
- Floor details: Preserve floor inlays, thresholds, vents, and permanent transitions.
- Structural edges: Keep wall corners, ceiling lines, and columns separate from movable objects.
Use separate masks for overlapping furniture or objects. If a chair touches a wall in the source, one broad mask can make the system interpret both as a single surface. That's a common route to fused upholstery and distorted edges.
A disciplined prep pass usually takes five to ten minutes per photo, and it can save much longer fix-up work later. The time range is a workflow target, not a guarantee. A cluttered room or a poor source image may require a fresh capture instead of more masking.
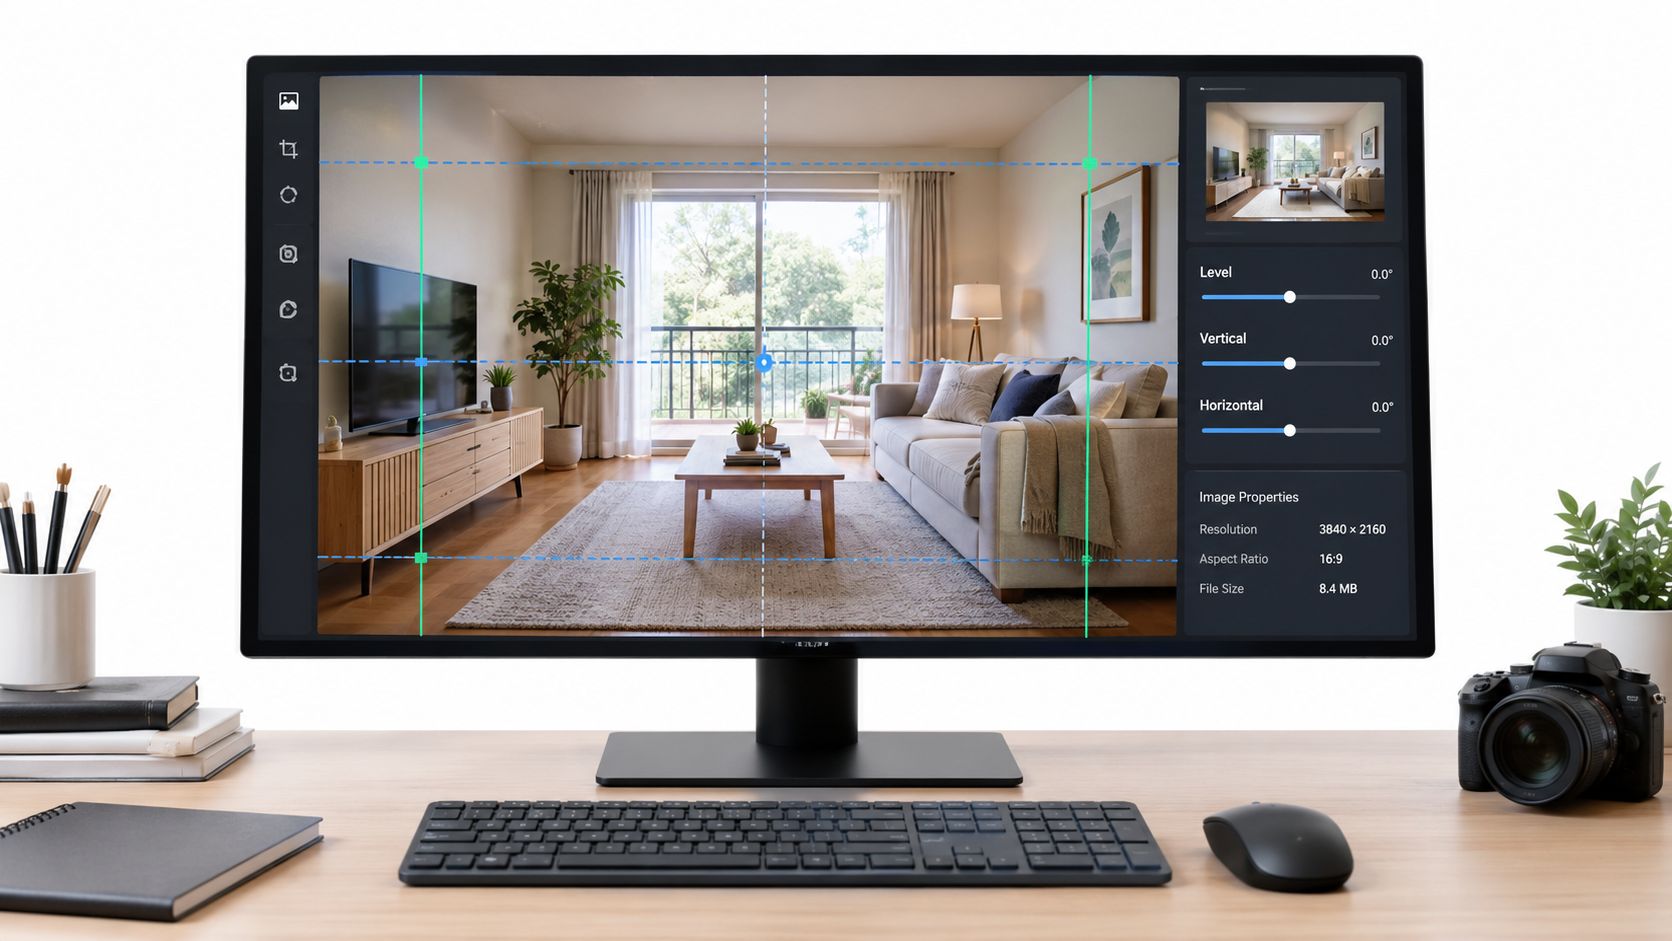
The virtual staging workflow is most reliable when the source has a clear sightline and the fixed geometry is explicit. Don't upload five similar photos and hope the system will reconcile them. Choose one camera, define what must remain fixed, and use other views only as visual references.
The Core Moves That Actually Render a Photo
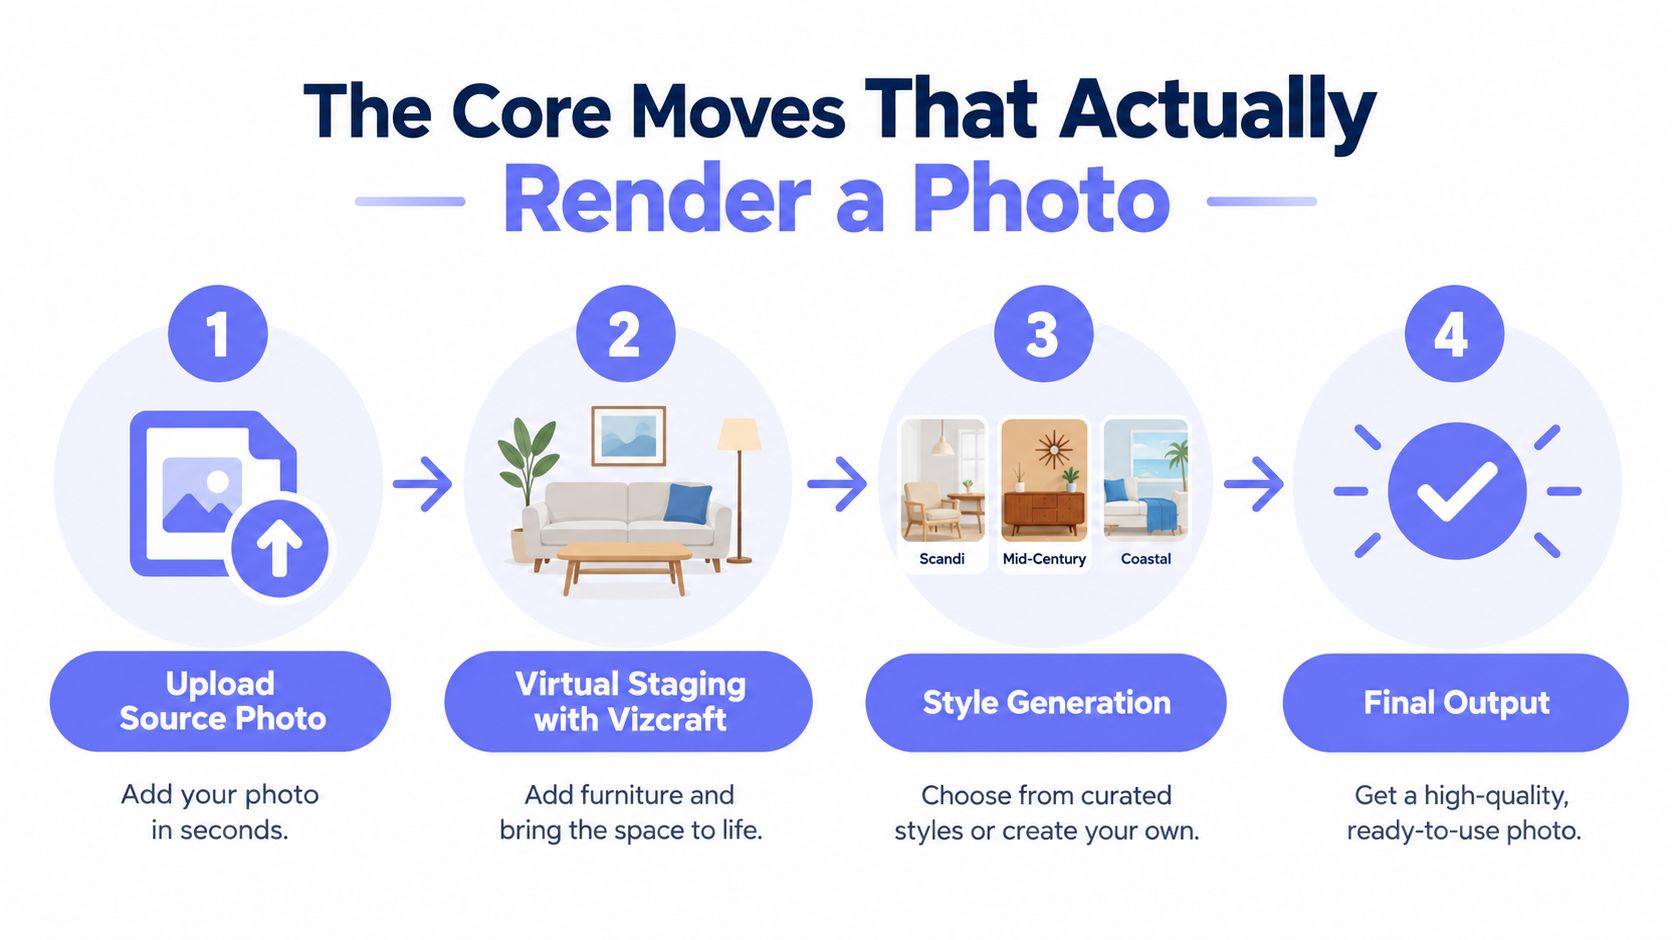
A convincing result usually comes from four focused passes. The order matters because each pass gives the next one a clearer target.
Start with coherent staging
Use the Vizcraft Interior Design generator to populate the room with a complete furniture set. Choose one direction, such as scandi, mid-century, or coastal, before adding custom language. A coherent set gives the system relationships to preserve: sofa depth, table height, rug position, circulation space, and the visual weight of the room.
Don't begin with a dozen independent object prompts. A sofa, chair, rug, coffee table, lamp, and artwork need to share a design logic. If each item arrives from a separate generation, the room can become a collage with inconsistent perspective and scale.
Apply style after the room has structure
Apply a style treatment after the room has coherent furniture and materials. Use a photo editor or generator that supports the required variation, and verify that walls, windows, and room proportions remain consistent.
For the three-option scenario, branch from the clean staged version. Create the scandi, mid-century, and coastal variations from the same base rather than repeatedly restaging the original. That keeps the comparison useful because the room layout remains more consistent.
For broader image-cleanup decisions, AI to improve image quality by Magic is a useful resource on enhancement workflows. Enhancement and design generation aren't the same task, and treating them separately helps prevent a sharpening pass from being mistaken for a successful render.
Relight the designed scene
Make the lighting pass after the furniture and style are in place. In an editor with lighting controls, match the original light direction before adjusting bounce, fill, and warmth. Inspect contact shadows and reflections.
A warm bias around 3000K can suit a residential evening mood, but it isn't automatically correct. Check the wall color, the window exposure, and the materials. Warmth that looks inviting on a sofa can turn white paint yellow and make a daylight listing feel misleading.
Add one intentional focal object
Add one focal piece in a photo editor with object-placement controls. A pendant, artwork, or plant can establish the composition, but each additional insertion needs a scale, shadow, and occlusion check.
The sequence is simple: stage, style, relight, then place. A three-variation run can keep the generation wall time under twelve minutes, based on the workflow target for the scenario. The AI rendering workflow is useful when you need to explore the same sequence across room photos, floor plans, or concept visuals.
Comparing the Tools Worth Your Credits
No platform wins every photo-rendering job. The right choice depends on whether you need a quick first pass, controlled architectural massing, listing-ready staging, or a repeatable room-design workflow.
The table below separates published product information from editorial fit. Competitor pricing and trial terms change frequently, so don't treat an unlisted entry as a free offer.
AI Photo Render Tools Compared
| Tool | Entry Price | Free Trial | Best For |
|---|---|---|---|
| Vizcraft | Rendering plans from $19/month; staging $29/listing | 2 free rendering credits; staging separate | Floor-plan views, exterior concepts, and empty listing photo staging |
| InteriorAI | Check current vendor pricing | Check current vendor terms | Fast first-pass room concepts |
| RoomGPT | Check current vendor pricing | Check current vendor terms | Quick style exploration from room photos |
| ArchiVinci | Check current vendor pricing | Check current vendor terms | More controlled architectural visualization |
| ReimagineHome | Check current vendor pricing | Check current vendor terms | Listing-oriented room refreshes |
| Decor8 | Check current vendor pricing | Check current vendor terms | Real estate presentation concepts |
| mnml.ai | Check current vendor pricing | Check current vendor terms | Architectural massing and concept studies |
| PromeAI | Check current vendor pricing | Check current vendor terms | Concept visualization and architectural ideation |
Vizcraft's published plans include $19 per month for 25 renders, $49 per month for 100, and $99 per month for 250, with one-time packs from $7. The listed per-render range is $0.40 to $0.76, depending on the plan, as shown on the Vizcraft pricing page. Generation time depends on the input and workflow; upload time, queueing, and revisions also affect the full delivery.
InteriorAI and RoomGPT make sense when the immediate requirement is a fast visual direction and the image will be treated as an early concept. They may be less suitable when you need a tightly controlled before-and-after comparison or repeated adherence to fixed architectural elements.
ArchiVinci is worth assessing when geometry control matters more than a casual first pass. ReimagineHome and Decor8 fit listing and property-presentation work, where the audience needs to understand the room quickly. mnml.ai and PromeAI are more natural candidates for architectural massing and broader concept exploration than for a strict record of an existing interior.
For a wider look at top AI image generators compared, compare not only realism, but also masking, revision behavior, export quality, and commercial-use terms. The decision rule is practical: choose by render volume, style specificity, and whether the deliverable needs a clean before-and-after or a fully stylized concept image. A detailed architectural AI rendering tools comparison can help narrow the shortlist.
Cost and Time Math You Can Run Before You Subscribe
Budget the image you expect to ship, not the first image you generate. One rough concept may consume a single credit, while a client-ready result can require a base render, a style branch, a scale correction, and a final export.
Vizcraft offers ISO Mapper for floor-plan isometric views, Interior Design for boards from floor plans, and Exterior Studio for exterior concepts from photos. These images support design discussion; verify dimensions, openings, scale, and construction intent against the source drawings. The Vizcraft rendering trial includes 2 free credits on signup, with no credit card required. Use those credits for eligible rendering workflows such as ISO Mapper; Virtual Staging is purchased separately at $29 per listing for 8 photos.
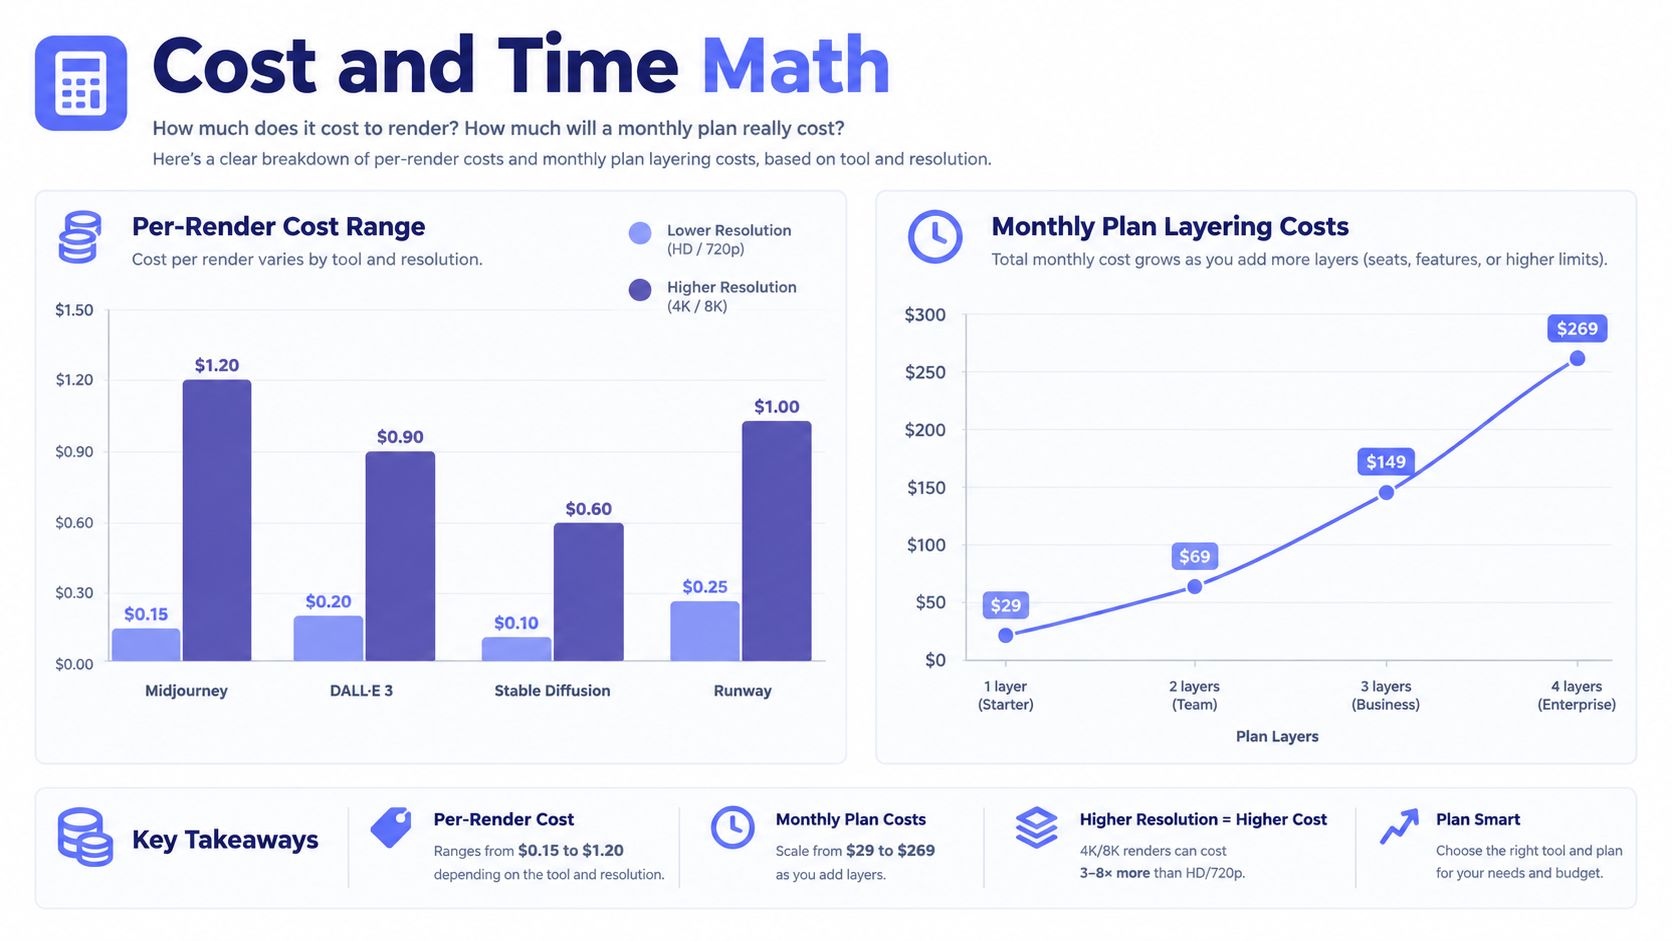
Other services use different credit systems. For example, one published vendor offers a one-time trial of 100 credits, with a fast render using 10 credits, while another offers 1,000 credits over two weeks, with a stated usage of 20 credits per render. Those offers illustrate why you need to divide the subscription cost by the number of usable final outputs, not by the headline credit balance. See the published credit examples before comparing plans.
Traditional rendering can take 8 to 40 hours per image, while real-time BIM-integrated rendering is estimated at 5 to 30 minutes and AI-powered rendering at 10 to 60 seconds, according to architectural visualization workflow comparisons. Another industry estimate places high-quality architectural rendering at 4 to 96 hours per image, with AI-first tools often claiming 10 to 30 seconds for an initial result. These ranges describe different workflows, not equivalent final quality.
Generation time varies by input, model, and workflow. Budget separately for source preparation, selection, corrections, and quality review; three candidate images can require several rounds before they are ready for a client.
For a five-property listing exercise, budget each property separately instead of assuming one perfect output. Generate the selected room, make the required style or furniture correction, inspect the result, and reserve credits for rejected options. For one architectural concept render, plan the same way, but allow more time for geometry review because a concept image can still fail if openings, floor levels, or structural proportions drift. The 3D rendering cost per image guide provides a useful framework for separating generation cost from production labor.
Failure Modes and Common Pitfalls
The most expensive mistake is accepting a plausible thumbnail. A thumbnail hides bent walls, missing outlets, fused chair legs, and reflections that don't match the room. Client review happens at a larger size, and listing viewers notice inconsistencies when they compare the render with other property images.
Geometry drift
Wide or low source perspectives can make walls bend, ceilings tilt, and floor lines lose parallelism. Tighten the masks, correct the perspective, and run a fresh source pass before restaging. Don't try to repair a structural error with a decorative prompt.
Fused furniture
Chairs can merge into walls, rugs can sink into sofas, and table legs can disappear into flooring. Separate the objects with masks and use individual object-placement passes when the furniture overlaps. A room with fewer objects often looks more credible than a fully furnished room with fused edges.
Wrong scale
A sofa that nearly fills an eight-foot room is an obvious warning sign, even if the materials look realistic. Measure from the source image and compare against known references, such as door heights, outlets, or standard furniture proportions. The generated image isn't a reliable measuring instrument.
Style bleed
A room can begin as mid-century and end with coastal windows, farmhouse cabinetry, or a different architectural vocabulary. Lock the style reference, keep the prompt narrow, and reroll the branch instead of layering more descriptive words onto a failed result.
Virtual staging also has a disclosure obligation in many listing environments. Recent coverage notes that MLS rules typically require disclosure of virtual changes and prohibit altering the property's physical characteristics, as discussed in CNBC's coverage of AI virtual staging. Check the rules for the relevant MLS and jurisdiction before publishing, and don't use staging to conceal defects.
Human-fix checklist: Check parallel lines, count visible legs, verify switch plates and outlet counts, confirm window reveals, and inspect every mirror reflection.
Frequently Asked Questions
Before exporting, run the image at full size. A two-minute inspection is enough to catch many defects if you know where to look.
- Geometry: Are walls, ceilings, floors, windows, and doors consistent with the source?
- Scale: Do furniture dimensions make sense beside doors, outlets, and built-ins?
- Lighting: Does the new light direction agree with the original windows and cast shadows?
- Artifacts: Are there fused cushions, missing legs, broken edges, strange reflections, or duplicated objects?
- Export: Is the image sharp enough for the client-facing board, proposal, or listing workflow?
- Disclosure: If the image is virtually staged, have you added the language required by the relevant listing rules?
A rendering system should be judged by the shipped image, not the speed of the first preview. That standard is supported by recent image-quality research: the REPID benchmark contains 30,000 edited images, preference annotations from 13,648 voters, and more than 2.5 million unique votes, while rendering-specific models achieved up to 40% better precision than conventional distortion-oriented methods on that benchmark. The REPID research reinforces a practical point, human preference and task-specific evaluation matter more than pixel similarity alone.
How long does rendering a photo take end to end?
Verdict: The generation step can take seconds, but the complete workflow takes longer. Source preparation, masking, selection, corrections, and QA determine the actual delivery time. Traditional photorealistic workflows can take many hours per image, while AI-first tools are commonly positioned for near-real-time review.
What does rendering a photo cost?
Verdict: Paid image generation commonly uses credits, and the cost depends on the tool, resolution, and revision count. Vizcraft's published plans range from $19 per month for 25 renders to $99 per month for 250 renders, while one-time packs start at $7. Compare usable final images, not just credits.
Do AI-staged real estate photos need disclosure?
Verdict: Assume disclosure is required until you've checked the applicable rules. MLS policies typically require clear disclosure of virtual changes and prohibit changing physical property characteristics. Add the required wording or watermark, and never use an AI edit to hide damage or alter the actual structure.
Are free generators worth using for client work?
Verdict: Free credits are useful for testing masking, style control, and export quality, but they're not automatically suitable for paid delivery. A free trial with 2 credits and no credit card required can be enough to test a workflow, but client work still needs consistent outputs, commercial-use permission, revision capacity, and human QA.
At 4 pm, the designer in the opening scenario doesn't need a perfect first click. They need three defensible options, a clear record of what changed, and enough time to reject the image with fused cushions before the buyer tour. That is the production standard worth carrying into every photo-rendering job.
Make the lighting pass after the furniture and style are in place. In an editor with lighting controls, match the original light direction before adjusting bounce, fill, and warmth. Inspect contact shadows and reflections.